Showing posts with label Minerva Crafts. Show all posts

Sparkle Sparkle FLASHBACK

Saturday, 6 September 2014


Hey Guys,

We sort of need to have a little flashback to June.


I kind of didn't get the chance to go through all of the construction details of the sequinned dress! 

This post is majorly picture heavy (just a warning!) and unfortunately most of the construction pictures are taken with my phone. Bad habit! So what's coming is a bit of a hodge-podge of before and after photo's! And of course the dress lining could do with a press/steam too, but never mind.


Oh, and I couldn't reach the hook and eye! It was difficult taking new pictures, as the light was super reflective on the sequins :)

When I dreamt of my dress, I wanted a scoop neck and a full floaty tea length skirt. Those were my criteria and I managed to fill them! I thought long and hard about what bodice to use. I wanted as few seams as possible, and although there are a few in this one, they were in manageable places! And also, I knew that I had already gotten a good fit with this bodice, and I was loathe to start muslining a new one.

The bodice of the dress is a modified BHL Anna bodice. I redrafted the front and back neckline to be scooped for a change. I had to redraft the front once, as it was slipping off of my shoulders. It was just a touch too wide.

The sequinned fabric is a sequinned Spanish lace from Minerva Crafts, and the lining was a butter soft cotton poplin from Fabrix on Goldhawk road. It was stashed a long time before but was a beautiful match!


Ok, let's start from the start.

Firstly I cut out the lining pieces. 

I had spent a long time trying to work out the construction of the bodice to get the scalloped neckline just right. I decided the best was to to construct the bodice with the lining acting as an underlining. 

I bias-bound the edges of the neckline and sleeve hems of the lining. I then basted the lining pieces to the sequinned fabric.


I spent too many hours trimming sequins out of the seam allowances. I utilised the blank edges of the sequinned fabric as much as possible for places like the back seam but unfortunately I couldn't use them everywhere and there were a hell of a lot of sequins to go! I wasn't risking my machine.

I kind of lost feeling in my fingers.

I also trimmed the sequins out of the darts. I hand-basted each dart also. I stitched up the centre of each dart to secure the fabric before I stitched the dart legs.


After I put the bodice pieces together, I bias-bound the shoulders, side seams and hem - enclosing both lining and sequins together.


I cut the scalloped neckline by eye, and ended up having to shape the scallops, as opposed to following the line of the individual fabric pieces. I used fray-check on some but most were okay.


I tacked the scalloped neckline to the lining under the edge of the bias binding so that it was invisible.


I also bias bound the skirt lining pieces, which I had cut as a half circle skirt. 


For the sequined fabric, I used a full width of the fabric, utilising the blank edges for the side seams. I pleated the full width of the fabric into the front lining piece and half onto each back piece. 


Oh and I pleated it all by eye. And re-pleated it repeatedly until it fit. I then stitched the pleats to the lining fabric and bias-bound the waist seam. I had french seamed the sequined fabric so that it was loose over the lining. The sequin fabric is only enclosed in the back seam.


Then came the nerve wracking bit, where I joined the skirt to the bodice. I'm a terror for pulling fabric up into seams, so I used some of those wonder-clips to try and hold things together. Thankfully the sewing god's heard my prayer and when I opened up it was perfect.


I inserting a lapped metal zipped in a pale pink to match the fabric. 


I didn't want to grade any seams so the fabric was impossibly thick, especially with the binding. I hand-sewed it in, and had to use a kind of pliers to pull the needle through. It was hellishly hard to get through but I got there in the end.


Turns out taking the sequins off leaves behind the horrible nylon thread, so I had to sew in some last minute grosgrain ribbon from Clare's stash as they were killing my shoulders.


I'm assuming the side seams would be the same, but I wore the dress with a waist-cincher which protected my skin.

The weight of the skirt with all the sequins was pretty impressive, so I added in a grosgrain waist stay. I machine sewed it on to the front half of the dress only. It really did an amazing job of supporting the weight. 


By the way, I'm super glad that none of the bulk of the fabric layers translates to show in the dress :)


I used skirt hooks to close the waist stay. I added two different hooking points, but in the end had to add another section with another looser point. Although I could close the tightest, it ended up pulling the dress in too much, and caused distortion of the bodice.


I also hand-scalloped the hem of the dress. The final job, and thankfully was a lot quicker to complete than I thought it would. I left it to hang longer than the lining, as you do.


I was sewing this up until the Thursday night, before the Saturday. I was heading to London on the Friday, so I was definitely down to the wire. I think it took the guts of a fortnight to sew.
I was sick of the sight of it... until I put it on for the event :) It kind of felt like the effort you might put into a wedding dress! And it feels that way when I put it on too...


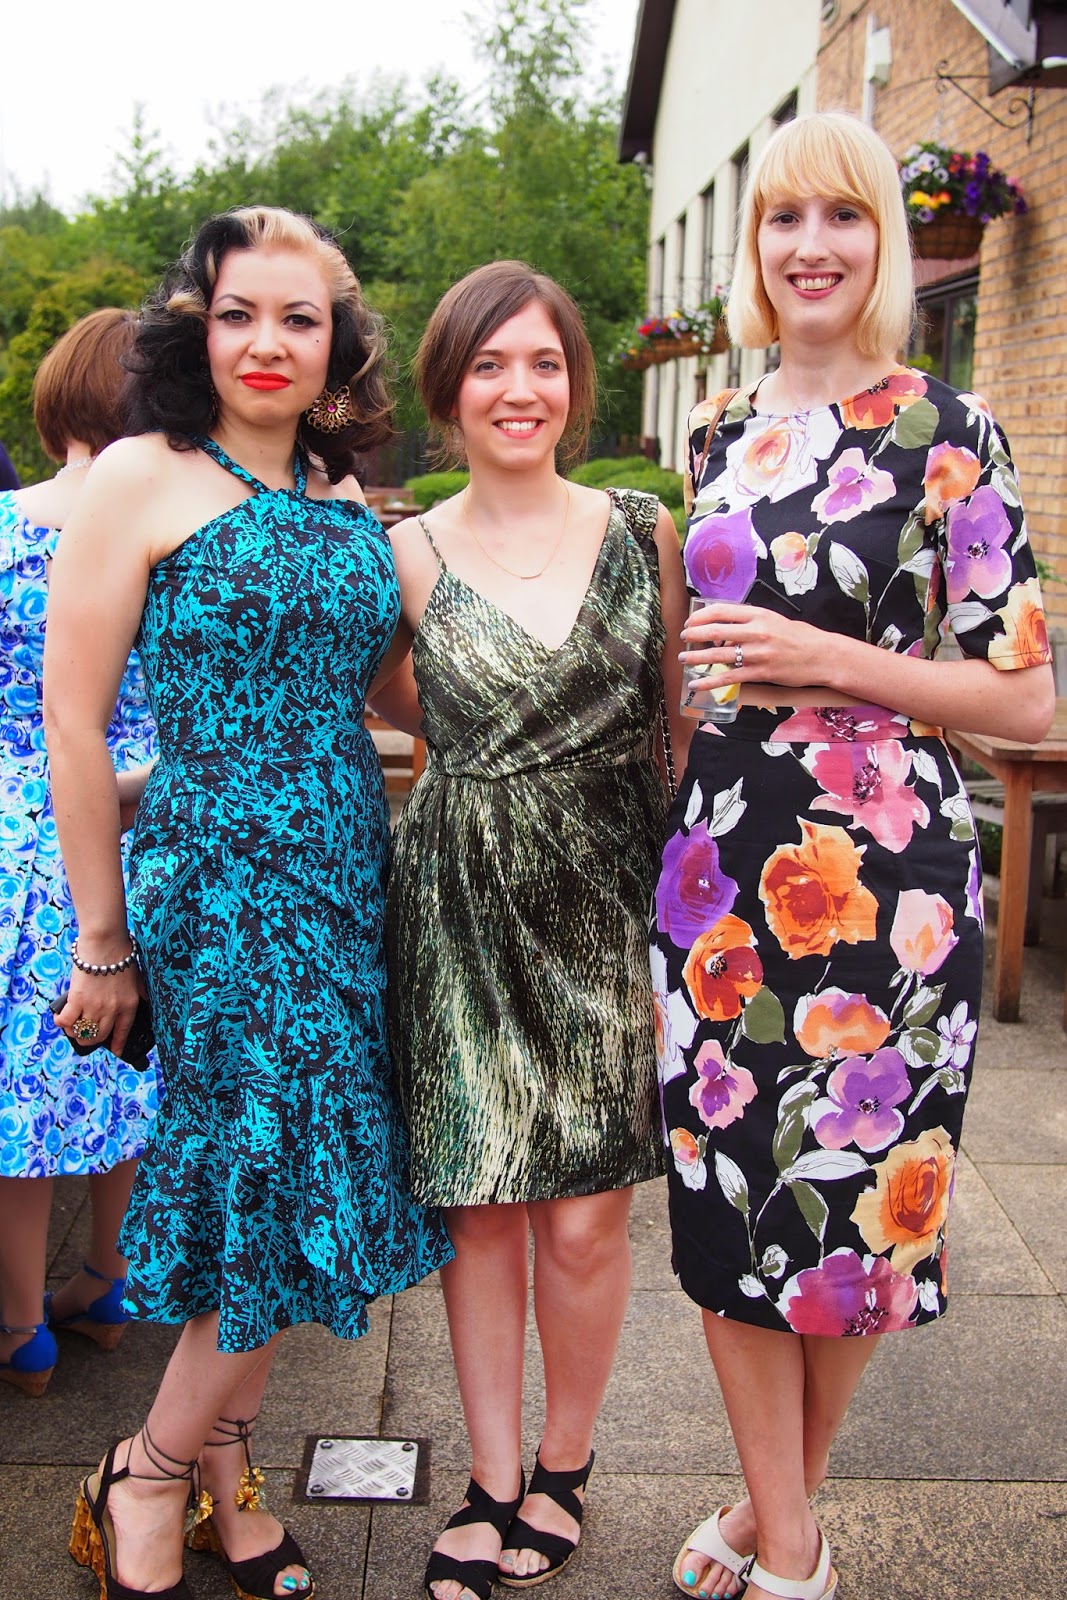
And just in case you forgot, some flashbacks of the night in question. I wish I had taken more photo's. I was equally as proud of my hair!


Oh, and lastly, some indication as to the state of my house afterwards! The camera couldn't even pick up half of the sequins - whatever you can see, times it by 5!


I have a terrible photo of myself just after finishing, and covered in them, but we shall leave that for another time :)

Well done for sticking with me!

Emmie x

Sort of not a Coco at all....

Thursday, 3 July 2014


Hello all,

So, this is what I hoped would be my 'simple' Minerva make - you know, after the trauma of last month!

And I guess it was (simple, that is)

The plan was to make a Tilly & the Buttons Coco dress

I thought - it's simple, it's quick, and it's similar to what I wear to work on a daily basis, and aren't we all always going on about how we need to sew sensible pieces that we will use everyday?

I myself change into a uniform at my place of work, so the clothing I wear on a daily is worn to-work and from-work, and usually no longer (I love my pjs)

And as I am usually running late, and getting changed is a giant pain in the arse, it's awfully nice to wear a simple knit dress. Whip over head and step into uniform.
Bingo

But of course nothing ever goes to plan!

Before we go anywhere, let me show you the dress.
I would like to forewarn you that I look mad as hell, but I was actually channeling a moody ambiance for the photo shoot. Cheery photos didn't feel right for 'the look', lol.

Here goes


You may notice a few things about this dress, the first probably being that it is definitely not a Coco dress.

You would probably bet your bottom dollar that I had swerved and made a Nettie dress.

Wrong.

The dress did indeed begin it's life as a Coco.
But it was god awful on me.


Basically, I decided that I would make a Coco, but I didn't want it to be as short as drafted as I'm not one for the short skirts. So I added 4" in the 'shorten/lengthen' line. and then followed the line of the upper waist down to the hem, but marginally wider (about 5/8"). 

I think this was my first mistake.

My second mistake was trying to make the dress reversible.
Because, as you may not realise, this is actually the wrong side of the fabric.
I had ordered the Grey Embossed Floral Ponte Roma, but the dress in my head was nothing like the dress on me. The picture also makes the fabric look a bit shinier and more metallic.


This is a nice enough print, but I think I could only get away with having it as a pencil skirt or something.
Not as an all over print.


Anywho, as the plain grey was so nice, I had this wonderful idea of flat-felling the seams to make the dress reversible. Lets just say all that remains of that idea are some flat-felled shoulders I couldn't be bothered to unpick (again)

But it was only when I started putting the dress together did I only realise fully how awful the fabric was on me. 
So I abandoned the reversible.

Only once I had the dress finished did I realise how awful the dress was on me.
Honestly, I think the main problem was those 4 extra inches of length.
It was drafted to sit at the point it does for a reason.


Once I realised this I was about to throw in the towel, hold up my hands and say "Sorry, I messed up, but I cannot and will not put this online as something I created". Although now I am slightly regretting not taking a 'before' picture!

But something in me pulled myself together, and began to hack.
And hack I did.


Firstly, I grabbed a fitted pencil skirt from my wardrobe, plonked it down on the dress and drew around it with chalk. I sewed that and tried it on.
Then began the 6 million tryings-on and tweakings of the dress.


In total I think I changed the skirt, took in the waist an additional time, scooped the neck, took in the bust side seams through to the armpit, pegged the skirt a little more and then took little extra bits at the hips that were sticking out funny.
Bits and pieces like that.


I have also taken in the sleeves since these photos were taken, to give a more snug and fitted finish.

I didn't set out to make a Nettie-lookalike, it only struck me once I took these photos, but it looks a bit like one to me! An unconcious homage to Heather Lou

Now this dress would not be the thing I normally wear. If you know me, you know I do not do fitted very often, and I hate anything clinging to my stomach. 
(In the interest of full disclosure: I am wearing some awesome controlwear in these photos)


But (with the controlwear) I really enjoyed wearing this dress! I felt sassy and wiggly, and a bit like a secretary - but in a good way - especially with a pair of heels on!


So there we go, not my usual on here but I learned stuff, and that's always good.
Has anyone else saved a disaster recently?

Emmie x

Spoolettes on Tour! Epic

Tuesday, 17 June 2014


Hello All!

I am back from what was an absolutely awesome weekend, and I have finally had enough sleeps to tell you all about it! I swear, I've been asleep before half nine the past two nights :)

So, in case you were totally oblivious to the Instagram frenzy, a big bunch of Spoolettes (and of course, many of them Minerva bloggers) took the long journey up north to visit the craft Mecca that is the Minerva craft centre! 

First of all, I had to travel up to London on Friday night, and join Clare and Sally to meet Christine Haynes in Raystitch. Unbeknownst to us, Fiona and Roisin turned up too. We're like magnets to each other! Christine was so sweet, and I finally got to meet Tilly too - who was also lovely. Raystitch have a beautiful back patio, and it was glorious to stand in the sunshine and sip cocktails. Unfortunately, we had to leave all too soon, as we had an incredibly early start (*cough* 4.30am *cough*).


Thankfully Clare had the wherewithall to organise with Sally to book a minicab to pick us up at 5.30am instead of us trapsing around the tubes at that unholy hour. I have never been so grateful. We met Alison and Nicole at Euston, and drowned out tiredness in a welcome cup of coffee. We may have also picked up some treats for the journey. (AHEM pain au chocolat...)


In all honesty, the journey passed so quickly with all of us so excited. I'm sure the other people in our carriage were silently cursing us.


We arrived at Darwen at 10.12am and as Minerva is right outside the station, we got to get in on the action instantly. We were met at the door by Phil with glasses of Buck's Fizz, and got a sneak peek at the incredible warehouse while we abandoned our bags. Next time I'm gonna get a better look!

I spent AGES wandering about the centre, admiring the colour organised fabric. Who doesn't love that?

 Courtesy of What Katie Sews
Courtesy of What Katie Sews

I had one of those overwhelmed moments, it was hard to see the wood for the trees! I've never seen so many crafts in one place, from fabric and knitting, to Proggy and needle felting. Amazing.

After watching Karen's awesome talk, I decided to get myself booked onto one of the workshops. It would be dangerous to spend too much time near the fabric! As I had always wanted to make covered buttons, I decided to join Clare-Louise's covered button necklace workshop.

Courtesy of What Katie Sews. (Little Glimpse of Drew and his Cute baby boy)

And it blew my mind! I love covering buttons!
It uses up every tiny scrap of fabric you have, which of course is brilliant.


Me, instagramming! Courtesy of Nicole Needles

I ended the day buying one of those button covering tools. So awesome, and so much cheaper than I thought! I hit a massive wall during the class and got very wobbly (think my blood sugar had plummeted) so I don't have a finished necklace to show for myself yet. I had an egg sandwich instead - but it was for the best.

After the workshop, we all gathered to listen to Elisalex and Victoria from By Hand London speak about their experience starting their company. I've known the girls for a little while, and it was awesome to hear how it all started, and what their day-to-day work life is like. To be honest, it sounds awesome to me!


After their talk, I decided to make some final decisions on some fabric that I had my eye on. But out of the corner of my eye I caught sight of a bolt being carried through the crowds. I proceeded to stalk the bolt, and decided to ask the man carrying it what the price was before I wasted anymore time!

At £6/m there was no way that I was leaving this piece behind. It is the most un-me fabric on paper, but I love it. Its drapey (nope). It's satin (nope). It's a digital print (nope). It's electric green (nope again!)

But I f**king love it. 

I just need to figure out what to make with it... I'm thinking maybe a Midsummer's Night Dream for the Summer? There's nothing else I can think of. Either that or a one shoulder Burda pattern I have. Not gonna be entirely vintagey but I got go where the fabric takes me.

About 3.30pm we were all pooped and needed a little rest before the evening's festivities. And of course the heavens were opening, so we skedaddled to the hotel, and had a little rest before getting ready.

I was the last one ready due to some uncooperative hair, but thankfully it all came together, and I managed to get out just in time! Me and my dress weren't in love until the moment I put it on - but now we are soulmates. I felt awesome as soon as I put it on, and I don't regret a second of work that went into it.

We had a drink before we left, but I was so distracted by the beautiful girls and their dresses that I ended up having to down half a glass of red. Ulgh. Waste not, want not.

Let us proceed to the dresses. I'm gonna do a separate post on construction as this post is already mega long and eating up all your data :) Also known as, warning - more pictures!


 Courtesy of What Katie Sews

Doing our best Rachel - She was with us in Spirit! Although there was a funnier pouting one!

Courtesy of What Katie Sews
Courtesy of Nicole Needles
Courtesy of What Katie Sews

A photographer took our photo as we arrived at Blackburn Rovers FC for dinner in a VIP box :)
I never noticed the red carpet!


 Courtesy of What Katie Sews
 Courtesy of What Katie Sews
Courtesy of What Katie Sews

I think these pictures describe the evening better than I could! We ate till we were bursting and danced till our feet fell off. Perfect.

Thank you so much to Vicki and to the rest of the Ormerods for their hospitality and for the day itself.
We all had an awesome time, and look forward to when we meet again!

I'm ready for bed again!

Emmie xx
Made With Love By The Dutch Lady Designs