Showing posts with label Tilly. Show all posts

Is Life Under the Sea, Is Better Than Anything They Got Up There?

Friday, 8 May 2015


Hey Dollface,

What have you guys been up to lately? I've been getting caught up in the show 'Bomb Girls', which is based in a WWII bomb factory in Canada. The clothes are amazing, and are giving me loads of inspiration; especially after going to the 'Fashion on the Ration' exhibition with a bunch of Spoolettes a few weeks ago.


Today I bring you one of the latest offerings from Tilly and The Buttons, the Arielle skirt. I tested this pattern for Tilly, so this was made up a while back. There are some cool features in this little skirt, but of course I made some silly mistakes!


The first and most obvious mistake I made was to cut out the front wrong. I gots the overlap the wrong way around. Whoopsie.  
I don't think that matters though! Looks just as good either way to me. I used the remainder of the black cotton twill/drill from my Rigel Bomber. Haven't worn them together yet, haha. It didn't work out too bad, but it crumples like a bitch. Standing room only!


I used some of the awesome anchor buttons I got from the tailor. I think the buttons down the side are a lovely feature.


I was a little worried about using the buttons because they have a deep looped back and I was concerned it may pull on the underlap and possibly rip through the fabric over time, so I faced them with some green cat eye buttons from the stash.


It really worked a treat. They feel super secure now and they sit great. As well as ripping through, I was concerned they might distort how the underlap would sit but no problems now!


I started off making the full length version, but I realised I was a bit short in the wonky piece of fabric I had left. And seeing as I was at sewing club without any other project, I had to make do! I've never been left with such tiny scraps of fabric. So I think this ended up about 7cm shorter than full length. Another mistake by Emmie! But I seem to have this fluke of accidentally hemming things to the right length. So YAY mistake!


CHEESE!!


So all in all, a nice black skirt! Nothing as awesome as Tilly's promo pictures though - I love them! The way the colours pop is so amazing. Nothing bad about a wardrobe staple though.


So plans for the weekend... I am having a wardroble clear out. Like a serious one. I promise I am. 
I'm seriously sick of opening a wardrobe full to bursting and not being interested in anything I see. I've been hoarding clothes for a stupidly long time. You will see me on an episode of 'The Hoarder Next Door' at some point in the future. Sitting, waiting for the avalanche in the middle of a precariously filled room.


And here, as a little outtake treat, is my favourite broken doll photo from the set :) What is going on with my legs? Crackerjack


So, how are you guys feeling about your wardrobes these days? Are you finding they're coming together or falling apart?

Emmie xx

Time for Tilly's Mathilde Blouse!

Saturday, 1 June 2013

Hi everyone!

Just wanted to share my latest make with you all! It's another tester. 
I'm kind of calling them tester's because: 
(a) I have never done some of the skills required
(b) I'm using pretty cheap material to practice with
(c) I want to check the fit before I use nice fabric

But it is completely wearable!!
I do actually have nice fabric about to be dispatched for the real one.

I swear I'll make a non-tester one of these days! I'm trying to figure out what pattern to do next as I type and there is definite non tester fabric hanging on the clothes airer!

Sooo on with the make!


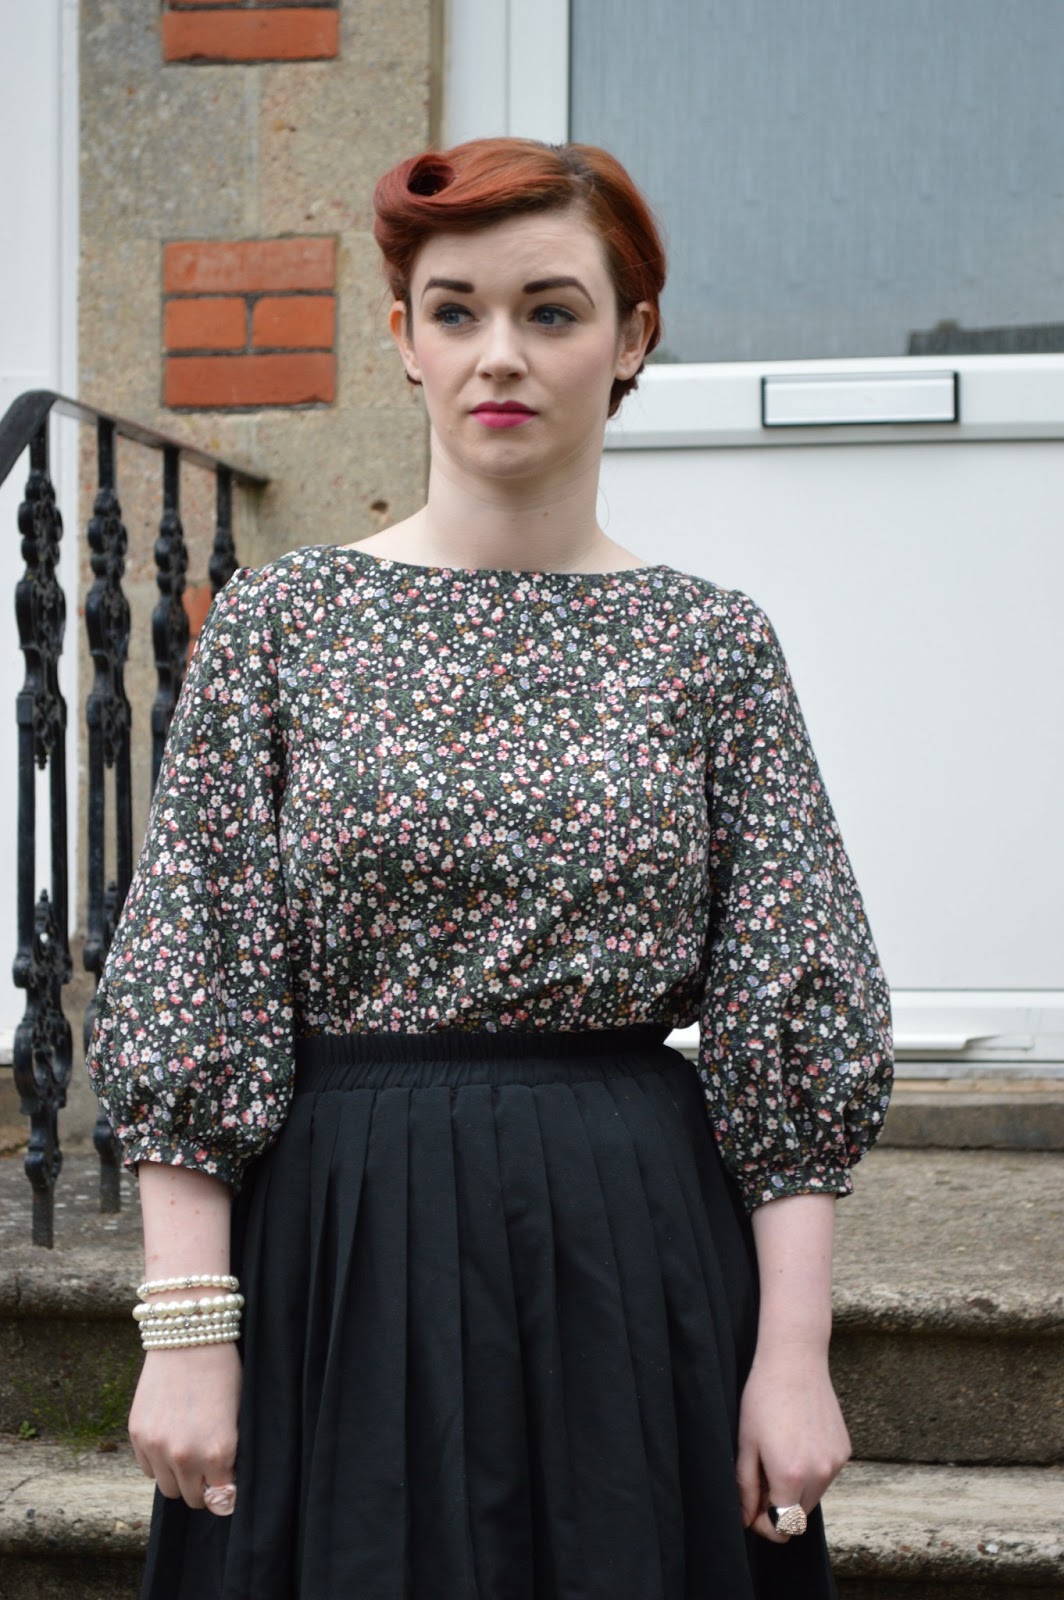
I was sewing Tilly's Mathilde Blouse, which I had been admiring from afar for ages! I thought it would be a good make for me because its a very clean shape and I would learn a lot from it, having never done a blouse, pin-tucks, buttons, buttonholes or sleeves!!

According to the sizing chart, I was a size five. I noted that the size 4 finished garment measurements would also cover my curves so I had a perusal of the maker's gallery and decided that I liked the slightly more fitted blouses, so I decided to bite the bullet and go on the smaller side. 

It took me a while to assemble the pdf pattern (I didn't realise how many pages there would be!). But once it was already to go, I did like how it was nice and stiff and not easily damaged like tissue patterns. 

Cutting out went fine, but I did get confused on the facings, etc, where it said 2+2 (which I now know means 2 fabric and 2 interfacing). I did however panic and cut out 4 fabric pieces initially (imagining some fancy facing with an enclosed seam - like a collar). 

Moving on from there, I had some initial problems doing the pin-tucks. Firstly I didn't look to see how they are formed and I did some completely incorrect pressing which had to be undone. Plus (ignoring Tilly's wise advice) I thought that I could get away with notches on the top and bottom of the tuck and forego the chalk marks.
This moves on to me abandoning the notches and remarking the entire blouse. Picture this happening quite a lot throughout this make. I like to skip ahead and then have to take 4 steps back. I also pinned each pintuck and pressed them before stitching

I'm also not sure as to whether you are supposed to see only the topstitching for the first pin-tuck or see all of them? I can see the first and then bits and pieces of the third - but blame that on my rushed chalkmarks.
I also decided to throw caution to the wind and use a contrast thread for the topstitching to bring out the coral in the fabric. The fabric I got for very cheap in Walthamstow, the buttons came in a green button mixed bag. I think the thread was from the London Meetup.


Everything went smoothly for a while after that, I even did some french seams (another new skill).

I had to do some research, and quite a bit of practice, before I figured out the buttonholes. Even when I decided I was ready, the first one went funny on me and I had to rip it out, which is surprisingly difficult.

Once I had finished the buttonholes I realised they were supposed to be on the other side of the back opening. Whoops. Clearly didn't read the sentence to the end. I did sort of also wing how big they should be and where the button should be placed. There was no real measuring involved, but I'm happy with how they turned out! I think I just need to stitch up the buttonholes a little bit, as one keeps trying to escape, as you can see in the photos. I also have realised I can get it on and off without opening them so i can stitch them as tight as I like.


Now I'm not the best gatherer, I just don't really have the knack. I have problems keeping it tight at either end, although I guess it should fade out into being straight at some point, or I could start the gathers earlier and finish later on the fabric. I think its okay but it could always be better. I also couldn't see when I was supposed to sew up the side seams, but when I was following the online instructions they were sewn up in the pictures when the sleeves went in so I did it just before that!


I'm pretty please with the blouse! I do think that the fabric was a little stiff to make it, a drapier one would definitely be nicer, as the sleeves stay quite puffy when my arms are relaxed!
I'm thinking I might even try it with a short sleeve (like Lauren's in the maker's gallery).
I think that with a plain fabric it will be such an easy item to mix in with my wardrobe. I have so many skirts that I never wear because I literally have only 2 tops that I like. 

Now to settle the age old battle. I like it tucked in, my boyfriend doesn't. 

Who wins??


It's not bad, I just like a bit of waist definition. 


I'll leave you with what is becoming my regular photoshoot outtakes:


I wasn't looking at anything, which is what makes the two faces funnier!

Till next time!

Emmie x


Made With Love By The Dutch Lady Designs