
And I'm back! Look at me, keeping a ball rolling...
Welcome viewer, to the next installment of the Vintage Guts Series. Today I'm bringing you a beautiful cocktail number I picked up in downtown Las Vegas. It has some lovely little details in the construction that I hadn't even hit upon before I started photographing it.

I found the dress in an kitschy antiques store in downtown Las Vegas. I was looking for a vintage clothes shop that turned out to be closed, and stumbled across this one. There was another shirtdress I adored, but it was just too big. This cost me the pricely sum of $34. Nuts.
Unfortunately, to my exasperation, I could not get a photograph of it's true colour. These photographs all came out a bright glaring coral initially! I had to play with some colour levels to get close, so I apologise if some have a strange tint - you couldn't see the dress under all that glare! In reality, it's a deep deep cerise pink.

It has a pleated upper bodice, and pleated straps that sit off the shoulder.

The skirt of the dress has soft pleats, and a faux sarong wrap front.


It closes with a lapped metal zipper, with a hook and thread loop at the top and at the waist.


The tag reads 'Bain's Las Vegas - Los Angeles'. From what I have managed to rustle up, Bain's was a department store in Las Vegas, situated on Freemont Street, which was the original Vegas Strip (now downtown Las Vegas). I've also found other dresses with tags that just read Las Vegas, without the Los Angeles. All the dresses that have turned up in my search have been very much 50's, with mostly cocktail/party dresses turning up. So i'm going with somewhere in the region of the 50's for this dress.

As you can see, there are a few different seam finishes going on. There is some pinking, and some raw edges. There seems to be a decent seam allowance left throughout.


The facings are turned under and stitched. It's hard to tell in this photo, but the dress employs both a lining AND facings. It's clearer to see when we get into the guts.

The back has this awesome pointed back waistline, which I can't believe that they matched across the lapped zip.

Ahem. Unfortunately, the night I tried to wear the dress, I felt the back seam go the first time I sat down (thankfully before we had left the hotel grounds). The poor dress is old, and therefore the thread seems to be a little weak in spots. I haven't mended it yet.

It has a lovely deep hem. I LOVE a deep hem now. It makes garment's hang so well. The edge of the hem is enclosed in a seam binding and handstitched.

OK! Here we get gutsy! And a bit more coral than before!

As you can see, there is some boning under the bustline. It appears to be plastic and bendable. There are 3 darts in the skirt lining (remember that, it gets more interesting later on).

There is a little curved horizontal dart in the bodice lining, which clearly removes some fullness, although I'd love some more thoughts on this!

There is also boning in the back to help the dress hold it's shape. I'm assuming this was included as the straps do not help support the dress.

The glare!! If you take a moment to pop on some sunglasses, you can see the the outer and lining were treated as one at the neckline, and attached to the facing as one. the facing is handstitched to the lining, although this is starting to come apart.

The upper side seam of the front bodice is tightly ruched, which is what helps form the front folds in the bodice.


There are some hanging loops under the arms which seams to be made out of seam binding.

There is elastic incorporated over the top of the sleeves to ensure they stay put while you're posing by the bar! They are held in place with thread loops.

The fullness of the lining bust dart was pinked.

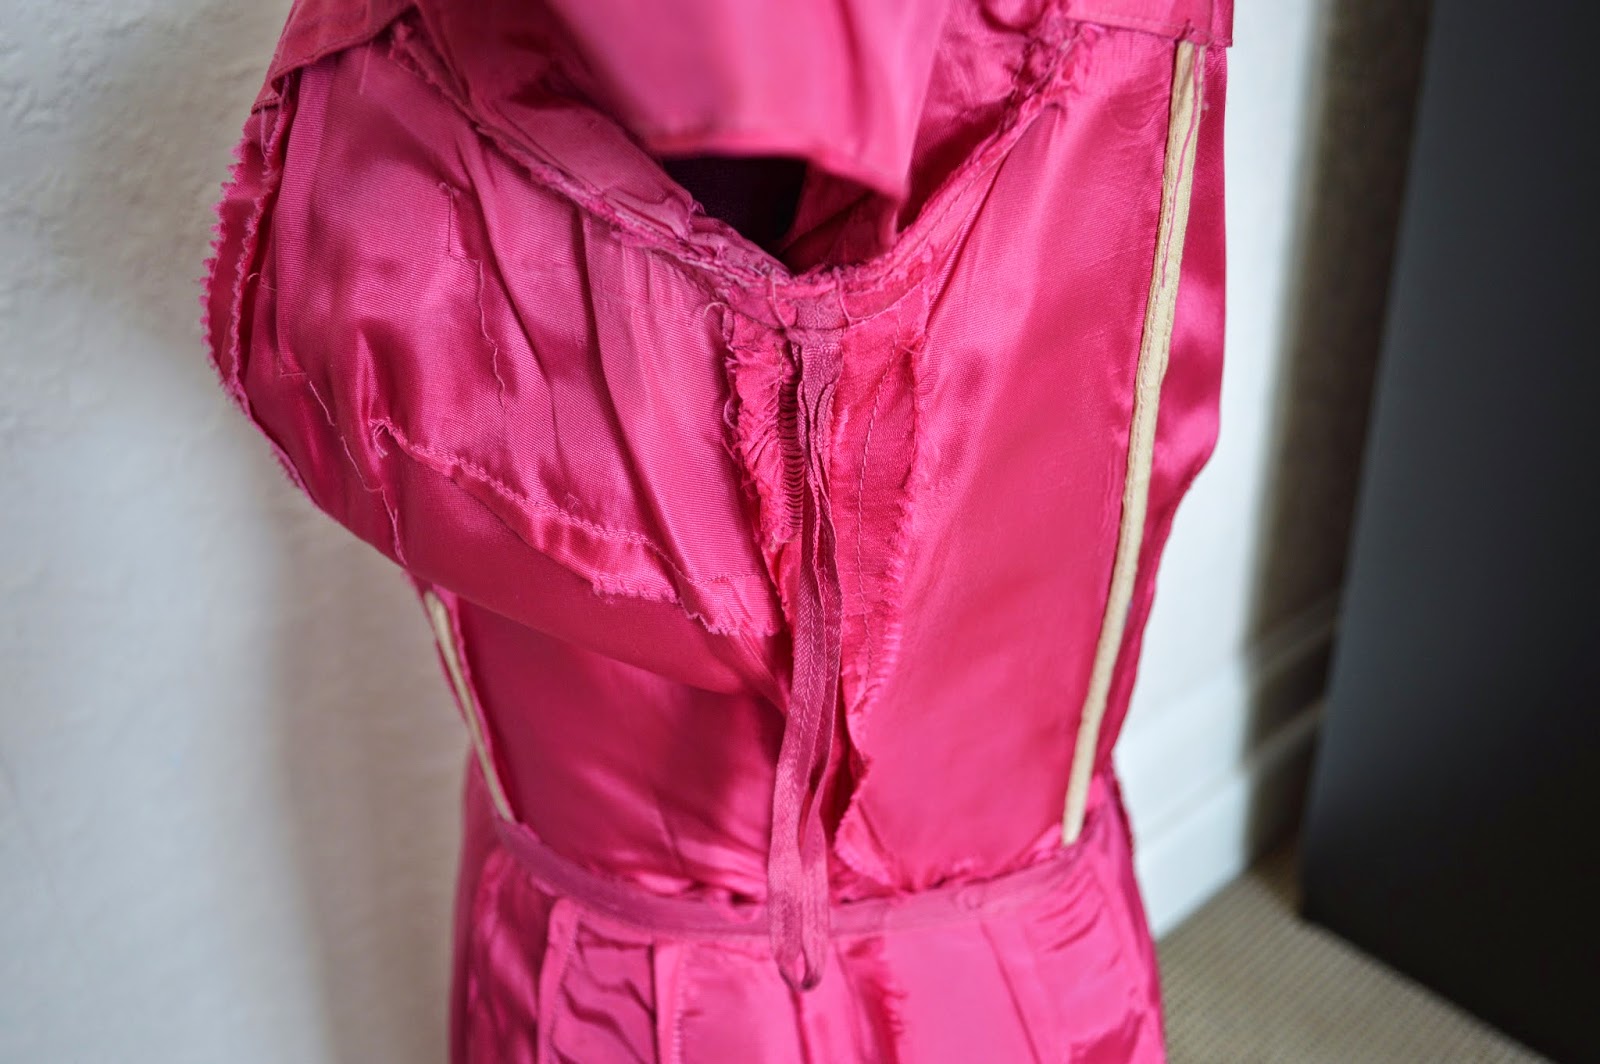
Back to the waistline, there is seam binding around the waist seam.


And just a quick look at the inside of the back waistline.

The seam binding at the waistline was stopped just as the seam begins to slope down.

As you can see, there are two darts in the back skirt.

Now, the faux sarong. Looks normal.

But interestingly, the inside section is part of the lining. Turns out the right front of the outer skirt is underlined, and the outer fabric only partially comes across and is stitched to the lining. I'm assuming this is to reduce bulk, and I think it's a great design detail/


There is a side slit, which only half of is free.

The hem of the side of the sarong is a single layer turned under.

My favourite detail that I hadn't notice, is that there is no side seam on the right side of the wrap, there is a dart instead! I've never seen this in a garment before. So it's a continuous piece from the back seam to the sarong wrap.

And, I have a picture from just before I burst out of it :) You know, back when I could actually fit into it. I wouldn't even dare try at the moment.

And of course, for your viewing pleasure, after I burst out of it. I had just sat down on the shuttle bus on the way to the last night of festivities. WHOOPS. You know I'm all about that Bass.

Anything you've spotted that I missed? Or anything you want to see closer?
LYLT,
Emmie x


