Showing posts with label pattern. Show all posts

The Chicest Kid on the Block

Thursday, 26 June 2014


Hey Guys!

Who doesn't like exciting news round these parts??

Not me - and believe you me, when I heard this gossip a short while ago, I was squealing!
Actually, more accurately, I was swearing :)

One of our most honoured Spoolettes, Sally, has only gone and done it.

Only gone and LAUNCHED A PATTERN COMPANY.

And beyond that, BEYOND THAT, she hasn't launched just one pattern. 

There's SIX - a whole collection!
Now, I don't know about you, but I love a collection.

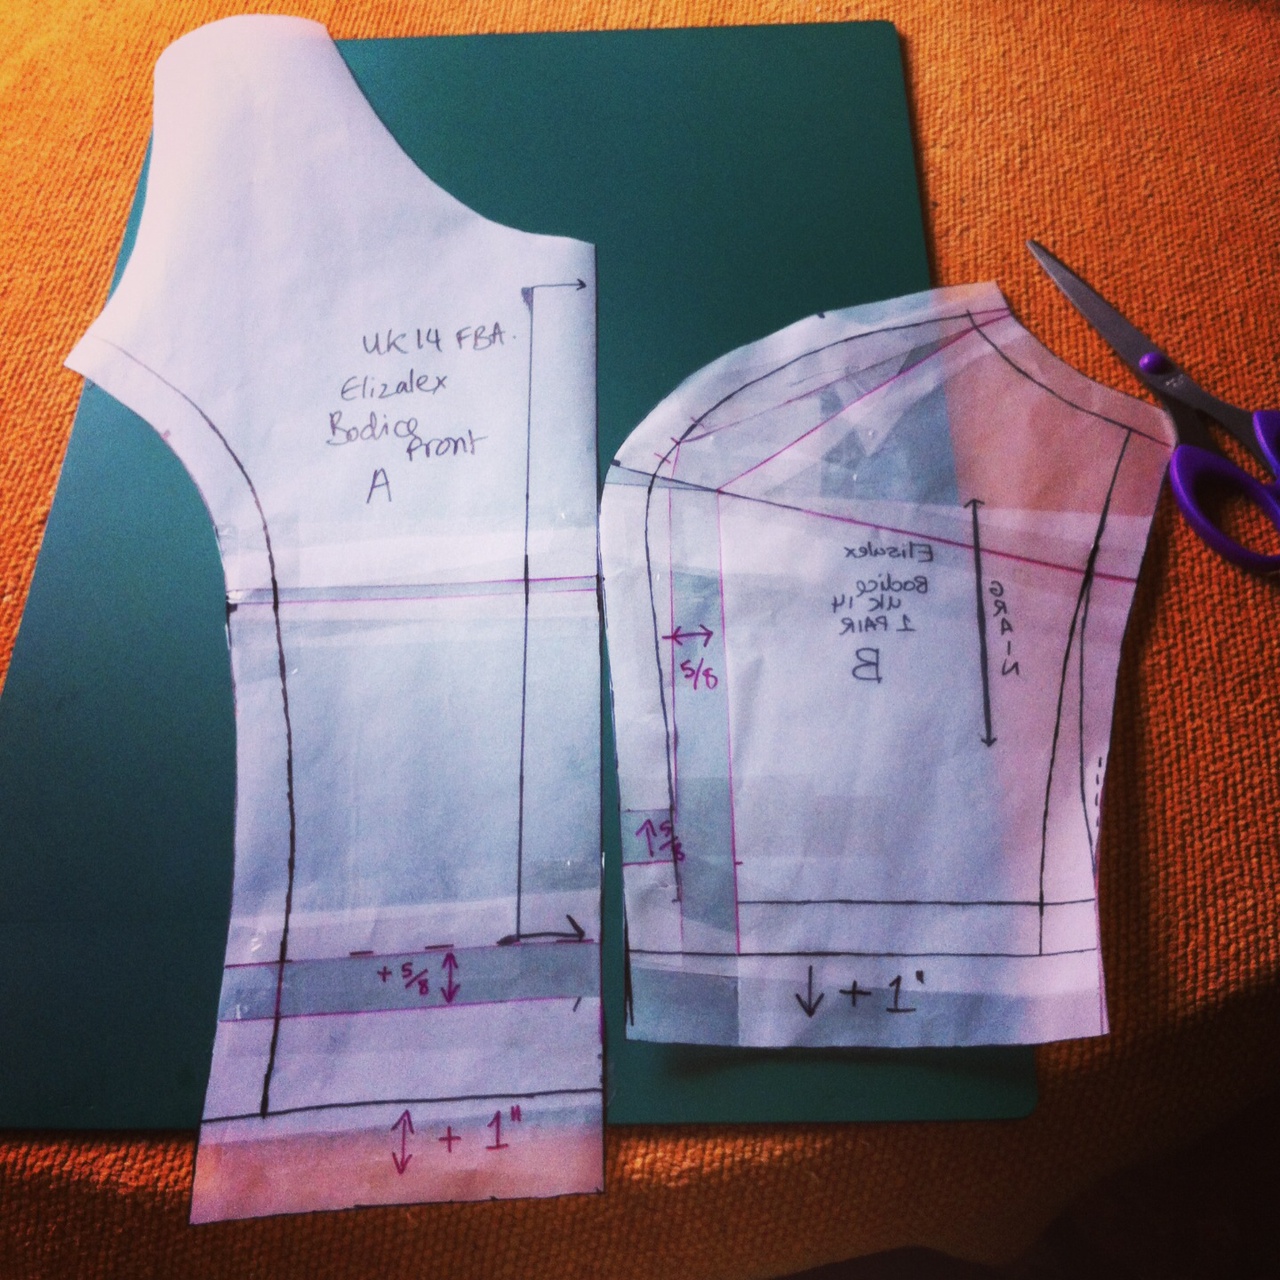
We all know and love Sally in her CharityShopChic persona. Her skill for transforming everyone else's cast offs into high style pieces is second to none. Even more than this, I have always been in awe of her pattern drafting, which has been showcased especially in her high fashion inspired makes.


The words that have always come to my mind when I think of Sally, and the clothes that she produces, are clean lines, simple elegance and sophistication. Clothes that you would wear with a cocktail in your hand.

And of course the other thing that springs to mind when I think of Sally is cocktails - Fitting therefore that her each piece in her collection is named after a different cocktail! 
I'm sure I've seen each one of them in her hand at one time or another :)


The six patterns are modern, contemporary looks with interesting details inspired by both high fashion and street style. The collection features work wear and cocktail wear, but most of the patterns could transition from day-to-night. Many of them work together to mix and match, and there are lots of pattern variations to sink your teeth into. My favourite is the Martini dress, and I also need to get my hands on the Bellini blouse too! They are aimed intermediate sewists, and those who want to learn some more advanced techniques.

I've seen both Bellini and Martini in person, and can vouch for their brilliance!


The patterns come as downloadable PDF files, but Sally has gone the extra mile to ensure that each of the patterns are printed with minimal pages. That's a detail I'm sure everyone will appreciate! She has also included a copyshop file - and if anyone finds a shop who does them in London, let me know! They are also available in both side of the Atlantic's paper formats :) I've had a sneak peek at the instructions, and they are very detailed, with illustrations for each step.

So what are you waiting for?

There are four more patterns for you to check out!

I hope you will join me in congratulating Sally on all her hard work, and wish her every success for the future! I, for one, am very excited!

So when's the next collection??

LYLT,

Emmie xx


This is Bowling - there are rules!

Saturday, 30 November 2013


Hey guys,

Just wanted to get this post out there as I keep seeing the beautiful faces of the spoolettes popping up in my feed. I'm sure you have realised by now that I went bowling last weekend with some amazing sewists (who have become my favourite people in the entire world btw).


The first rule of Bowling is that you must do it wearing an amazing handmade shirt. And boy did everyone rise to the challenge. I myself had grandiose plans of a huge hand embroidered piece on the back and a hand embroidered name on the front. I did in fact manage the name on the front but the back fell off the wagon pretty fast. Maybe if I had started it when we first began to speak of it (but Alison was the only one who started work early, as seen by the embroidery below!)


I actually was pretty sure I wouldn't get my shirt done in time. I was pretty close to not even trying! I had put myself under a tight time schedule in the lead up to Christmas and then other things decided to come up at the same time. Needless to say, I've been a bit of a wreck recently, but everything should be right as rain come Christmas. 

However I decided to suck it up and whip up something. I used a vintage pattern from my stash that I got at the Chelsea vintage frock, if I remember correctly.


 And what ensued was a night of  random slashing and sewing of fabric, the addition and removal of a random inch here and there, ignoring pattern instructions and all that sort if thing (Malfy here I come). I'm ecstatic to say that something completely awesome emerged from the flames, and it is quite possibly my favourite thing I ever made.


I was worried about the pattern being too small, so I erred on the side of caution when cutting and putting it together. I reduced the back neck pleat by an inch and increased the placket by 1.5 inches. I sewed up the front shoulder dart but not the darts at the bottom front and back. I'm glad bowling shirts have suck a boxy front, they are so forgiving! I sewed the top back neck pleat down an extra inch or so, and I had kept the bottom pleat at the full 3 inches.


All of these alterations meant I had to adjust the collar, so I just traced It off and added in all the missing inches where I thought it made sense. Thankfully it worked! I had to cut out my placket facings a second time because I forgot about the extra I had added!

 I was pretty happy with the progress I had made in a couple of hours. 

I had intended to use the cuff from this pattern, but when I looked at the pattern piece held up to the shirt it kind of looked ridiculous. So what did I do? 


I looked at the pink fabric I had remaining, eyeballed it, and ripped a strip off. I used the cuff method from By Hand London's Victoria, and sewed the cuff onto the edge of the kimono sleeve, opened up the side seam, and sewed it all in flush. And it worked perfectly.


As I had already embroidered my name onto a piece of the poplin, I just cut around it and stitched it onto the front. I had intended appliquéing it properly, but there wasn't time for that sort of nonsense.


 The back was my biggest trial! I didn't want to let go of the lettering on the back, so after many iterations and trying different things, I had to settle for cutting out letters and stitching them down the centre. There was intended appliqué there too but this was down to the wire sewing at its best. Fraying edges and all. Some might say its a look? 


I was even running around all morning looking for buttons, and in the end, the ones I got in the first shop, as a back up, were prefect. More than perfect really, they are my favourite bit of the whole shirt!

And of course the pink buttonholes!


There's also some pink topstitching on the pocket, and the pocket is not functional because I decided I wanted to topstitch the top edge after I had stitched it on the shirt. Sorry (Not Sorry).

After all of that palaver, I ran for the train, and stripped on the street to get my shirt on before I met my girlies. I must have looked like a nutter :)

Anywho, what ensued was a wonderful evening of bowling, burgers and karaoke. Spoolette Karaoke is second to none ;)


I'll leave you with my pictures of the evening, hope it entices more Spoolettes into the fold!


Love Sally's face in this one!

LYLT,

Emmie xx

Late night sewing... Mae Blouse - Bluegingerdoll

Saturday, 12 October 2013


Hi Guys,

I finished the third attempt at my Mae blouse! Yes THIRD.
Let me take you on a journey...

The first attempt was with sewable tracing paper. 
I traced between the size that suited my "finished garment" measurements and the next size up, but it wouldn't even close. This surprised me, as I know the patterns are drafted for a D (I know I'm an E but I thought I was gonna be pretty close, I was wrong). I definitely needed some bust adjusting, I wasn't even been able to close it! 


So I decided to follow the sewalong, and do an FBA.
However it went a bit weird in the middle. Let me explain why.

In the sewalong, the first thing you do for an FBA is cut off the sleevey bit. Then you do the FBA and stick the shoulder back on.

Weirdness 1: In the sewalong (illustrated) pictures, it shows a straight edge where you trimmed off the sleeve, even after the FBA. But when you do an FBA you create a side Dart and it ends up kicking out at the side, it doesn't end up straight. I didn't know what to do so i just overlapped the sleeve over the kicked out bit and continued on

Weirdness 2: The side dart created is never mentioned again. I was at a loss as to whether to ignore its existence or sew it up. I thought it would be be baggy and weird if I ignored it, so I sewed it up and trued up the waist/hips. Although I kind of made a balls of measuring them (I forgot to remove the front darts when measuring)

Muslin 2 was done in a lilac cotton sateen lining, that I thought could possibly be wearable, until I cut too short a piece of fabric (although it was still workable) Then I realised that it had a really loose weave (pins were leaving massive holes) and that it was pulling like hell. No No No.

After sewing that up, it closed, but it was SNUG. And getting something to just close is not something to aim for! It was drag-line city.

So I halved the seam allowance and tried again. Close but no cigar.
I drew a whole new seam allowance on the pattern for the next try.

So that brings us to Muslin 3! I made it with something I got at a stash swap. (Thanks to whoever donated!). Not sure what it is, a slub silk or a wannabe slub silk. Either way, its a little stiff, so bear with me in terms of how it crumples instead of drapes. Part of the issue is that my skirt has a smaller waist than the blouse! It looks a lot shinier in these photos too... 

Now in photo one, I am becoming one with the fabric in terms of stiffness. What is with the arms? I look like a puppet on a string. However, let us admire the fact that I found something to match it in my wardrobe! A kilt I got in the Salvation Army. Talk about a 'Fall' Wardrobe, eh?


Although in this photo, I think it looks a little big, it looks better shortly!
I am pretty proud of my finishing. I surprised myself with the scalloped neckline, I thought that was going to be a lot harder. It turned out a lot better than I thought, although Thank God it did because any flaws would be really obvious in this fabric. I used my new overlocker (although it was threaded white, so the insides look a little silly) but I did hand catchstitch all of the hem and sleeve facings! And partially thanks to the stiffness, partially my mad 1.00am sewing skills and partially Mr.G's thread matching capabilities, I think its pretty damn good.


It's like the 1.00am sewing never happened... 
I haven't done the neckline facing. Yet. I'm still not sure if I want to, in case it's too obvious.

In a side note, you can see my crazy eye colour in that top photo!


After the first few photo's, I decided to loosen up and stop looking like such a grump grump.
However, apparently I must raise one eyebrow at all times.


One modification I made to the back was to do the buttonholes vertical instead on horizontal, as I didn't like  the thought of how the buttons would drag off to one side instead of being central in the buttonhole.


I wish that the skirt waist wasn't so snug! Crumple crumple.

I would like to take this opportunity to categorically state that I sewed the buttons on straight and tight, but the buggers prefer to look tipsy, no matter how much I twiddle them. They are vintage buttons that I bought in a vintage shop in Rochester. Thanks for the recommendation Rachel!

All in all I found the pattern pretty straight forward, although I would definitely follow the sewalong, as I found the written/illustrated instructions hard to follow. 
It's probably just how my brain works, but I was stumped in a few places. The hem boggled me so I winged it in the end. I didn't end up doing the second turn either. Ironically I think I understand now, in this exact moment. The photo was the wrong way up for my brain.

But look, I'm still happy with how it turned out! Even my eyebrow agrees


Another version is already in the pipeline. 
Has anyone else noted how ridiculous the concept of a button-back blouse is??
My arms go forward people!

LYLT,

Emmie x

The Oz Dress - Elisalex FBA complete!

Sunday, 15 September 2013


Hi Guys!

I finally (FINALLY) finished my attempt at an Elisalex bodice with a full bust adjustment.
It's been a long time coming, as there were a few delays along the way, but I did post some progress pictures along the way on Instagram and Twitter.


I knew I definitely needed to adjust the bodice when I finished my last Elisalex.
 It fit, but it didn't fit the way it should! I definitely had the "Squished VonBoobies" look. I followed the FBA instructions written up by Elisalex (and by this point I actually understood them!), and did a 5/8" FBA, with another inch added to the bodice length (although next time I think I'll do 1.5"). I think I gave myself a tiny bit extra in the bust than my measurement just for comfort.

But with this comparison photo, even with the bodice just pinned together you can definitely see the improvement! Much more room, and the girls are much perkier, I'm sure you'll agree! The fabric is a blue Gingham (probably polycotton) I got at a market in Rye.


So what happened next was Delay 1. Which I think was pre-washing my lining. But that was easily fixed once I actually put it in the washing machine. Clever, eh?

Once I had the bodice lined I had to attach the gathered skirt FROM HELL.
I put the whole thing together, and then found loads of bits of the skirt that had caught up into the seam. 
Argh!
Then, upon rectifying each individual bit, I managed to catch other different bits. And upon fixing those I caught other bits. By the time I finished the skirt, with no bits caught up I was fit to go into the garden and set the whole thing alight.

And so Delay 2 happened. Wherein the half-finished dress sat on my dressform for weeks. I did at some point manage to cut out some lining to line the skirt, as I realised it was indecently see-through.

Then it sat there for another while, until I decided to bite the bullet and put the zip in. And I even took the time to hand-baste it first, although really it doesn't take that long at all!

And then yesterday I decided to knuckle down and get it finished before I died of old age.

And to be honest I actually love the stupid thing.


And I'm using my fancy new tripod that Mr.G bought me. It's super cool and I got to use my wireless remote! I used most of the width of the fabric for the skirt and I managed to somehow get the length I had wanted all along! The bodice length does actually look and feel good, but I think I only did a 1cm seam on the bodice/skirt as I knew I needed all the length I could get. Still might add a little more next time so I can do a full seam allowance.


Since taking this picture, I have realised how much lower my right shoulder is.
And this was me trying to not look so wonky! Although I feel stupid saying that with my wonky crossed legs.


I really can't believe how perfect the fit is. I'm definitely gonna be using these pieces as my Princess Seam Block now, and playing with neckline and back variations. But I doubt I will be doing another gathered skirt anytime soon.

I am, however, pretty happy with the skirt in general. It doesn't make me look AS big as I thought it might. I do look quite hip-py, although most of that is actually hip. My hips pop out almost straight after my waist.

The stitching on the hem wasn't my best, as I was more focused on (a) trying to get all the white stitching in the white line of boxes and (b) trying to keep the edge of the skirt a blue box. But at least I managed those two things!


I do however think my next couple of makes are not going to be fully lined, as I want a few nice quick makes! But it does look good. And it was definitely necessary for this fabric. I do however want to escape to the land of folded hems and bias bound hems for a bit. I'll avoid facing-land if I can.


The dress kind of makes me feel like a cross between Dorothy (Damn should've worn my red heels!) and a ballet dancer. And I secretly used to prance around when I was younger (until not that much younger), pretending I was one. So, for your pleasure, some ballet style posing :)


And that's it! I wore it to dinner last night, and it was lovely and comfortable, so I know it will get plenty of wear! Although it may have to wait until the weather is nicer...

I'll leave you with a final pic of me with my regular grumpy.resting.face


LYLT,

Emmie x


Made With Love By The Dutch Lady Designs